Follow these steps if you have 3D-printed your own enclosure parts and now want to disassemble the device so that you can use your own parts.
Notice
Disassembling Home Assistant Voice Preview Edition can void warranty.
Prerequisites
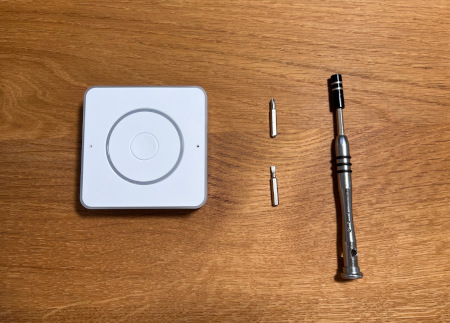
- Home Assistant Voice Preview Edition
- No 1 and 2 crosshead screwdriver
- No 4 Flathead screwdriver
Disassembling the device enclosure
Step 1
Remove the rubber pads and screws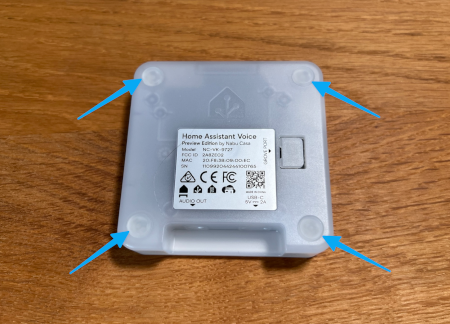
- Remove the 4 rubber pads (they are not glued in).
- Take the crosshead screwdriver and unscrew the 4 screws.
Step 2
Remove the top enclosure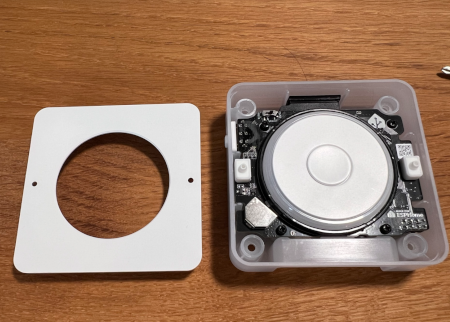
- Remove the top enclosure.
- If you only want to replace the top cover, your job is done here.
- You can now reassemble the enclosure with your own parts.
Step 3
Remove the PCB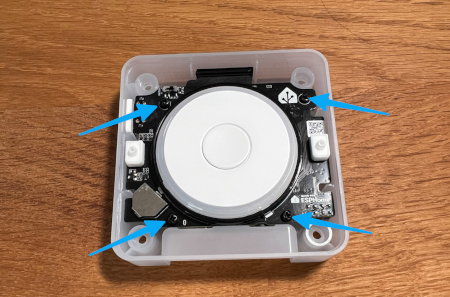
- Unscrew the 4 screws that hold the PCB.
Step 4
Remove the speaker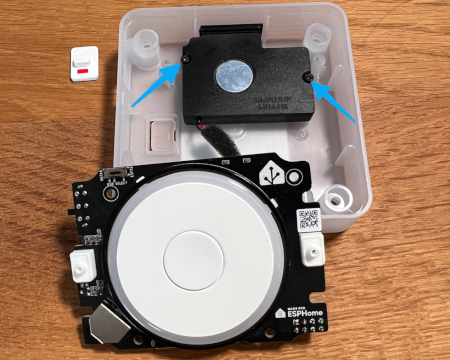
- Unscrew the 2 screws that hold the speaker.
- Store those screws separately; they are smaller than the ones for the PCB.
- If you only want to replace the top enclosure and the bottom enclosure, your job is done here.
- You can now reassemble the enclosure with your own parts.
Step 5
Remove the mute switch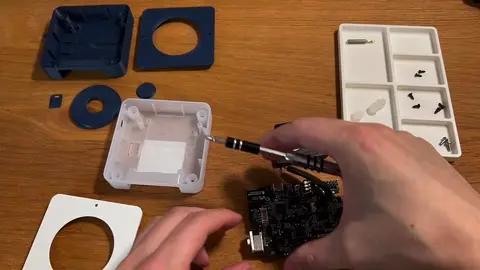
- Carefully pull on the mute switch and remove it.
Step 6
Remove the LED diffuser ring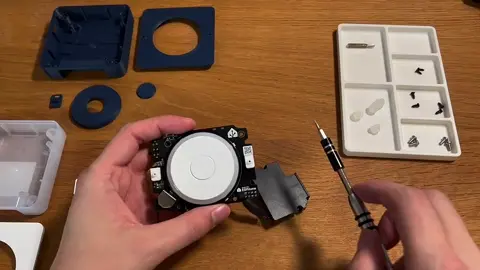
- Slide the flat screwdriver underneath the LED diffuser ring.
- Give the screwdriver a slight twist to detach the LED diffuser ring.
Step 7
Remove the dial and the center button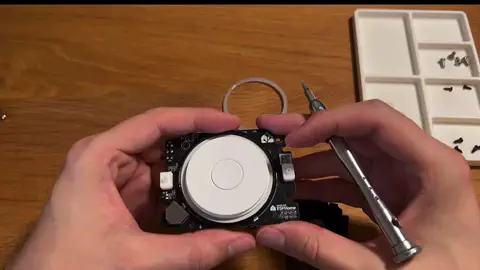
- Locate the slot on the rear of the PCB.
- Hold your finger on the center button to ensure the rotary encoder part underneath the button doesn't accidentally disassemble.
- Keep holding the button and gently push the tip of the flat screwdriver through the slot.
- Proceed carefully and don't apply too much force.
- Push the button out of the LED ring.
Step 8
All done!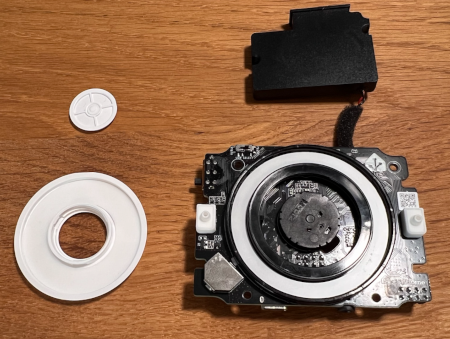
- Congratulations! You've disassembled the device enclosure.
- You can now put it back together using your own awesome 3D printed parts.
